Showing posts with label Craft Corner. Show all posts

Sunday, May 20, 2012

My First Sewing Project

I would like to introduce everyone to the newest member of our family. Steve and I get a little obsessive about who we add to our little household, so I'm confident that we will all get along nicely. Everyone, meet my Brother 60-stitch computerized sewing machine! 


I have been looking at machines for a few months in preparation of all this free time I keep mentioning. I've looked at a lot of different brands and models and talked to several people who have some sewing experience, and I've found that Brother is a great brand, especially if you're like me and you don't want to spend a lot of money. I found this one on Amazon at a great price, and I couldn't beat the great reviews it has gotten either. I was looking for something simple to use since I will be learning how to sew on this machine, but I also wanted a machine that would do some fancy things too (this one has quilting and buttonhole features). Basically, it's the perfect machine for me and I've been looking forward to having the time to play with it. I finally got to drag it out of the box this weekend. After carefully reading the instructions, Steve and I successfully threaded a bobbin and got the needle (automatically) threaded. After some high fives I got to work on my first project. As a graduation gift my mom and grandma (who are great sewers and the reasons I thought I should probably learn this skill) got me a bunch of sewing "haberdasheries" and "notions," so I was all set to go. I thought the most simple project for my new machine would be a summery table runner. I know the basics of hemming and pinning, and I really just wanted to learn how to sew in a straight line with the machine. To start the project, I cut the fabric (after washing it) down to size to fit our dining table. I didn't want the long part of the table runner to hang down the sides like most do on our table, so I decided to leave about two inches on both long sides of the runner. After cutting I was left with a strip of fabric about 3' x 1'. 


I pinned a one inch hem around the whole thing and got out the machine to finish the hemming. I know my cuts aren't straight and I got a little distracted from the stitching at times (that's what we get for babysitting a house full of dogs) so my hems aren't straight either. But it's the first thing I've ever really made on my machine, and I'm pretty happy with the results! I love how the fabric looks on our table and I'm really looking forward to my next project. 


Wednesday, May 16, 2012

Happy Mother's Day!

I realize I'm a few days late with this post, but I blame our friends in Arkansas for getting married and dragging us across the country (losers). However, we were able to see our mothers around Mother's Day, so we can't be too upset about that. For my mom I decided to make something this year now that I have a little more free time. Think of this as my first project in my new "Crazy Crafty" life. 

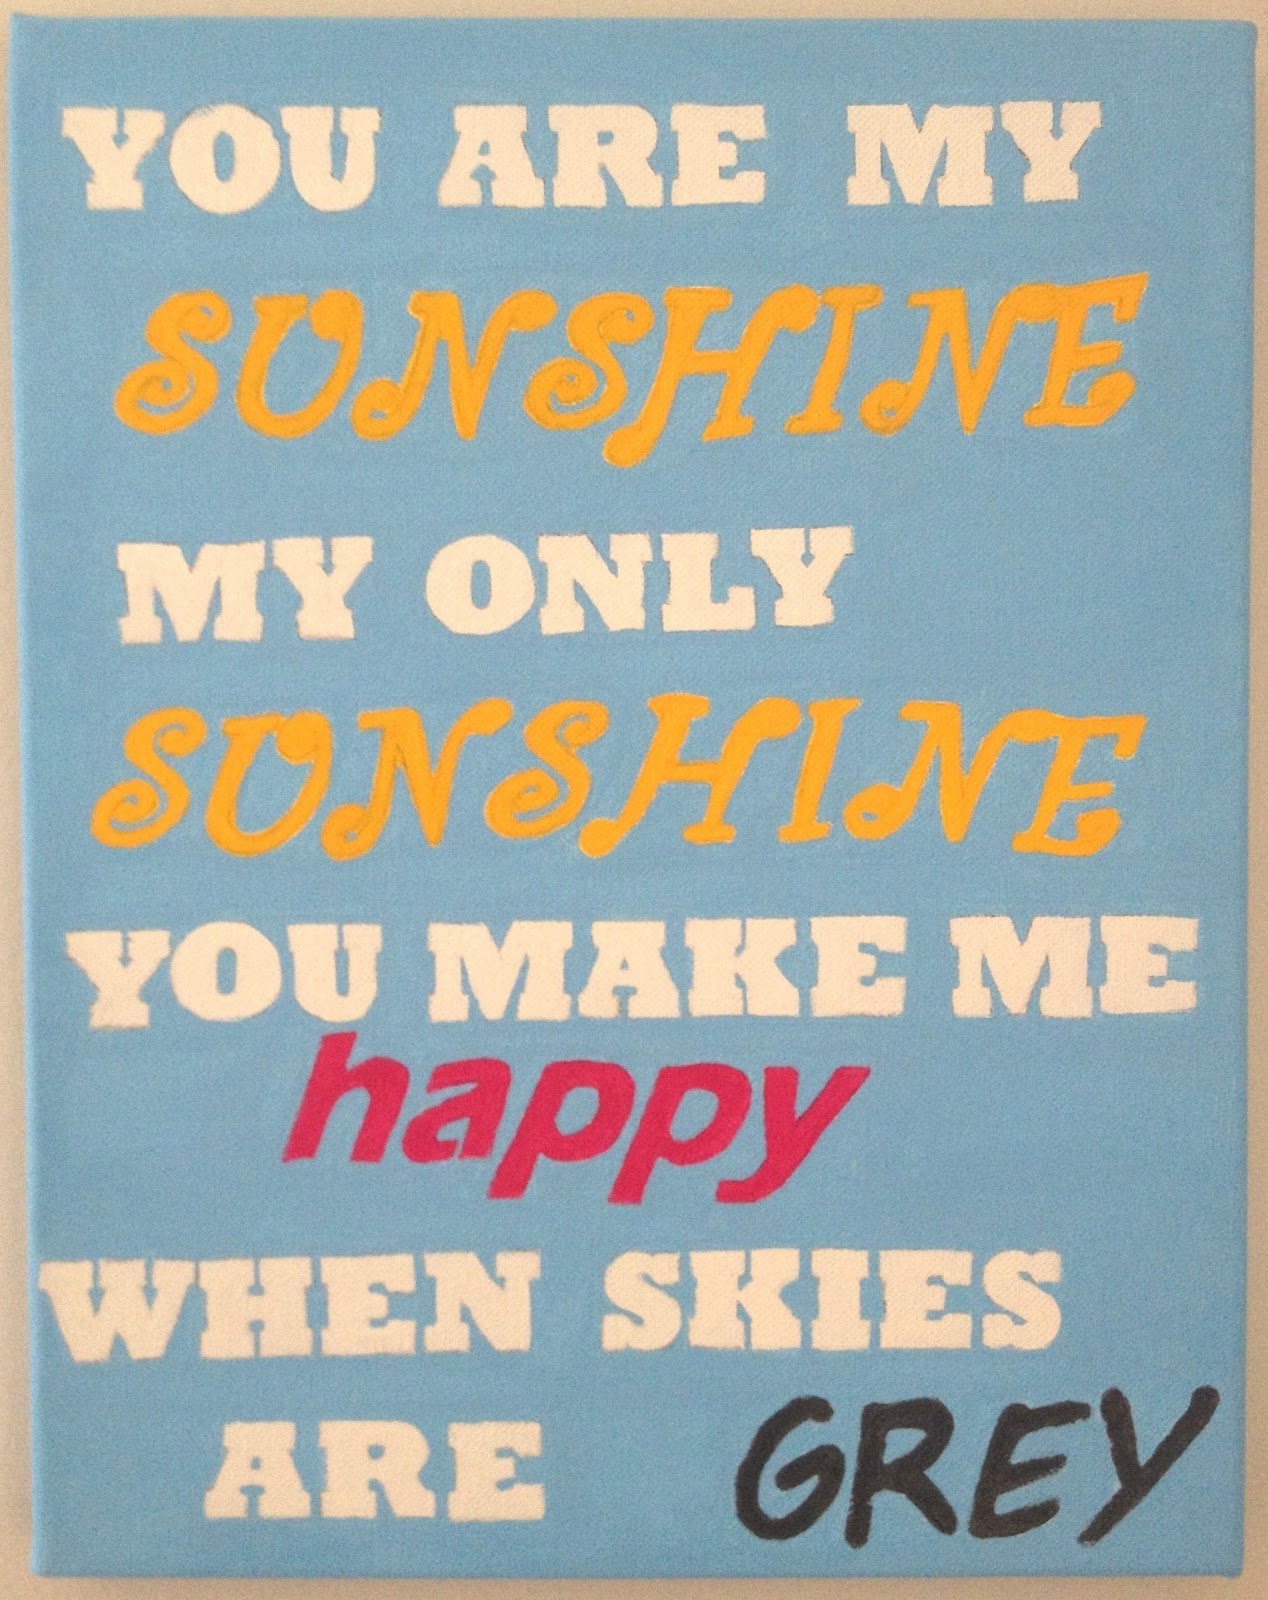
My mom has always loved singing me the song "You Are My Sunshine." For as long as I remember she would sing it on special occasions or when the mood struck, no matter how many eye-rollings she had to endure. I even got a recorded card singing it to me once. This song will always be associated in my mind with my mom, and when I saw some art pieces on Pinterest using the lyrics to this song, I knew it was a perfect idea for a gift. Mother's Day just happened to be the next convenient holiday. 

"You Are My Sunshine" painting on canvas


First I had to decide what I wanted the painting to look like. I already had the canvas and I knew I wouldn't be able to fit all of the words to the song on the canvas, so I decided to do the first half of the lyrics. I saw several different versions of the song on Pinterest, and the one I liked the best used different fonts and colors for the main words of the song. Instead of using stencils I decided to print off the words using different fonts from the computer and cut out the words. This took a lot more time because it was like creating my own stencils but I liked that I had a lot more say over which fonts I could use and how big the letters would be. From there, I traced the letters and painted them in using colors I thought fit the text. I picked out a nice sky blue for the background et voila! A lovely piece of art for my mom's sewing room. 

Happy Mother's Day, Mom! You're the best!